These are the STL files for 3D printing the mounting system for the Gilbert Engineering XLS450 Snowflakes. The mounts provide a frame structure behind the coro to increase strength and allow mounting to various surfaces as well as provide rigidity to the prop after it has been slit in half for shipping. The mounts are sized to fit 1/2″ EMT conduit and are designed to be zip tied to the coro. A screw can be inserted through the top of the mount and into the EMT to secure it in place. The XLS450 mounts are available in two configuration versions, Cross Mount and Mega Mount. The Cross Mount version utilizes a 1/2″ PVC cross at the center junction which you can then fit with EMT to PVC bushings which are printed using the included bushings file. This allows the smaller EMT to fit securely inside of the PVC fitting. The Mega Mount version utilizes a 6 spoke printed hub at the center junction to connect the EMT conduit arms with one of arms being able to pass continuously through the hub.
Renderings in blue depict the 46″ XLS Flakes and renderings in green depict the 36″ XLS Flakes.
More information regarding alignment of mounts below.
Note: This is a digital purchase for STL files and not a physical product.
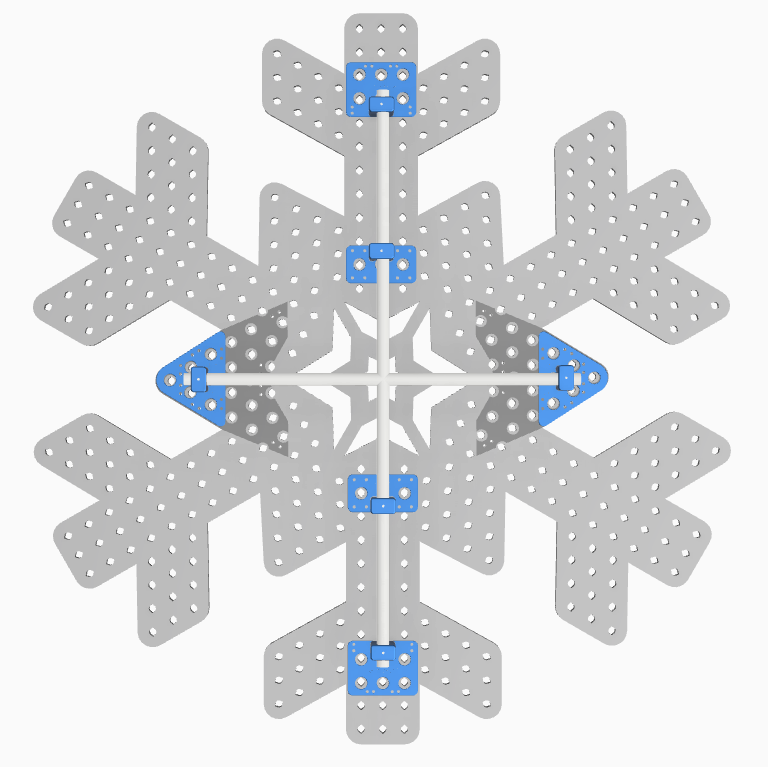
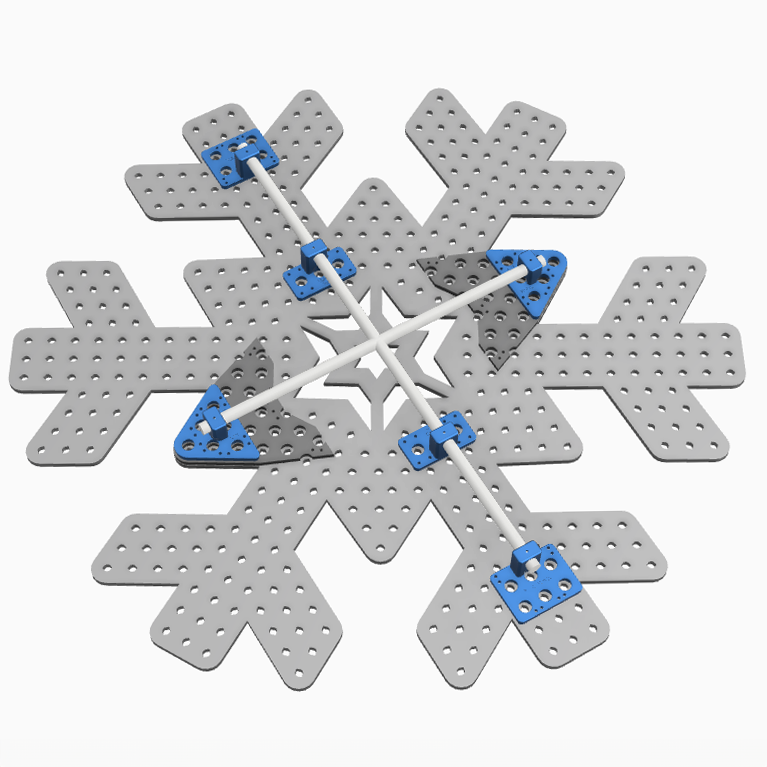
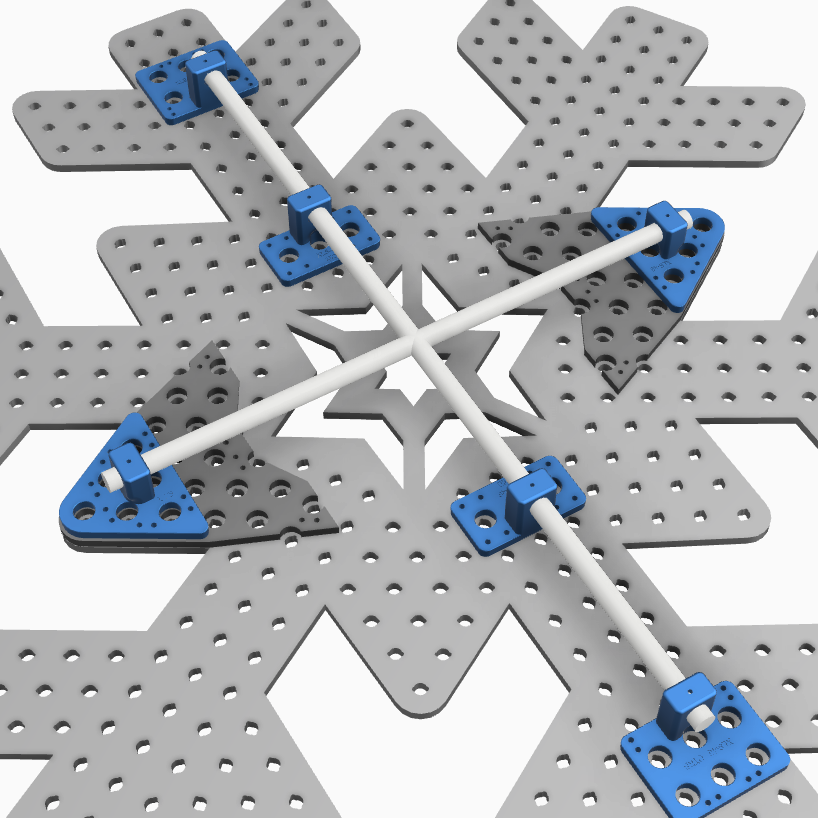
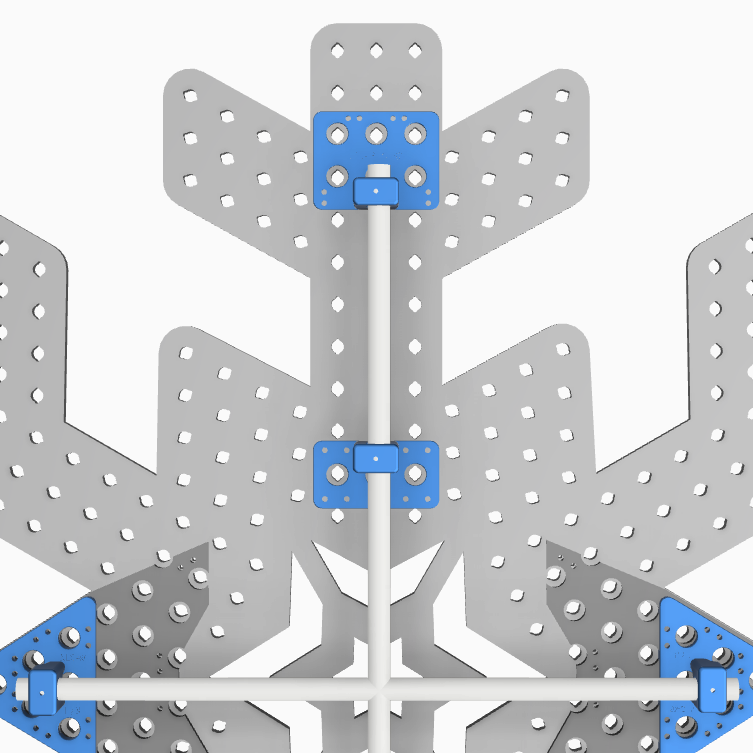
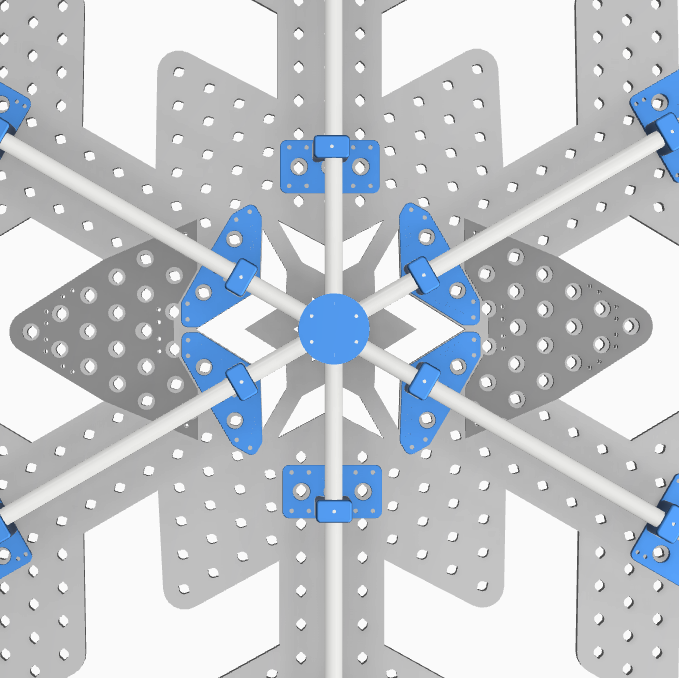
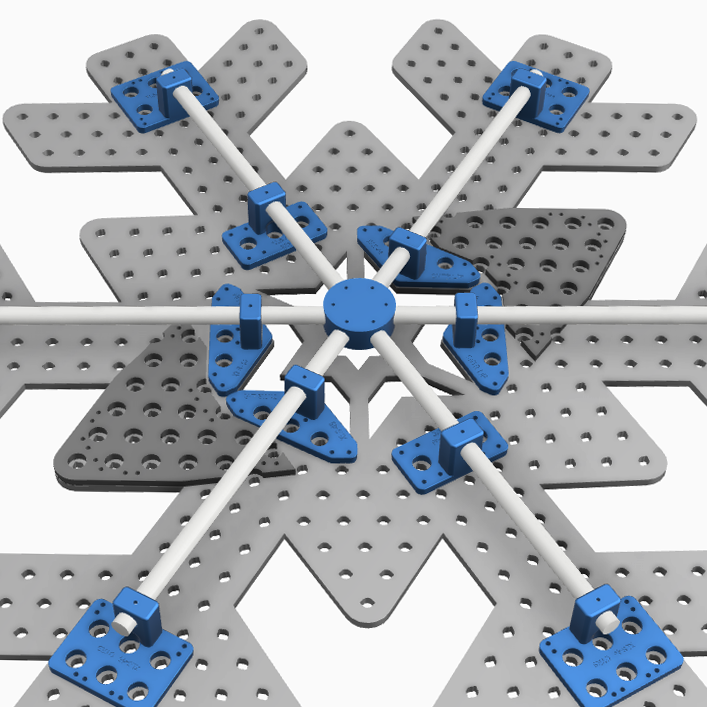
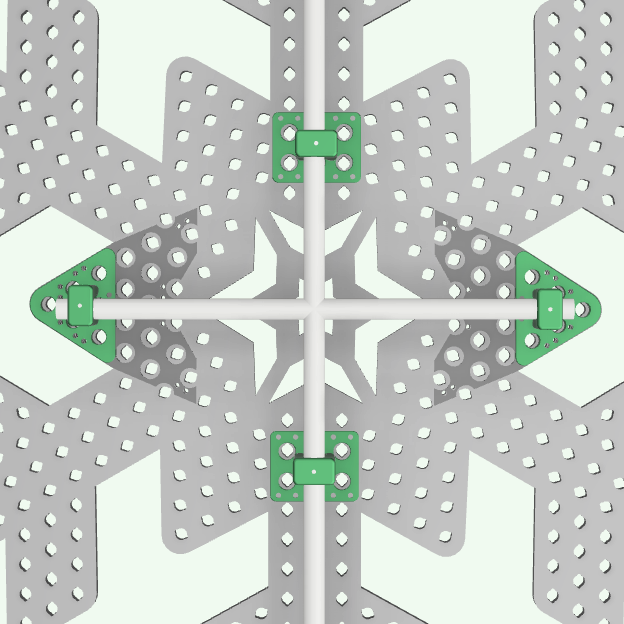
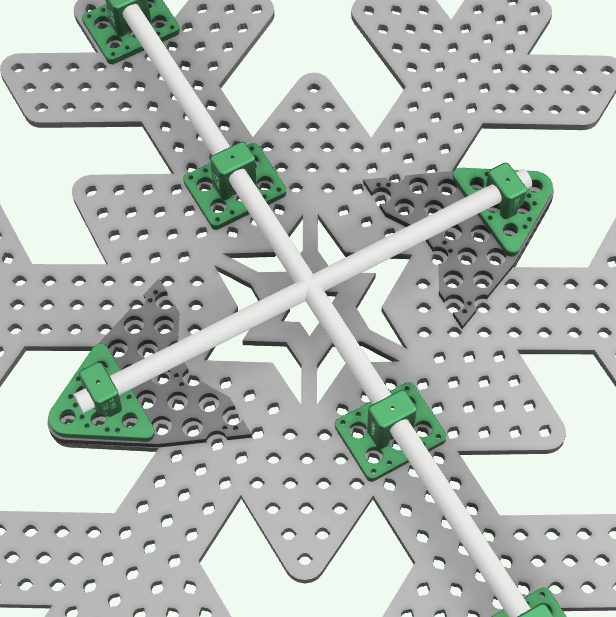
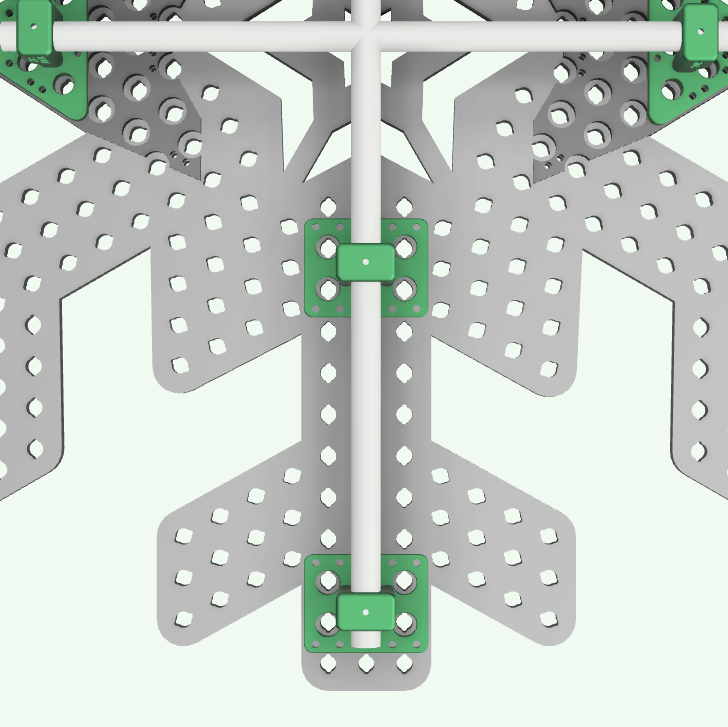
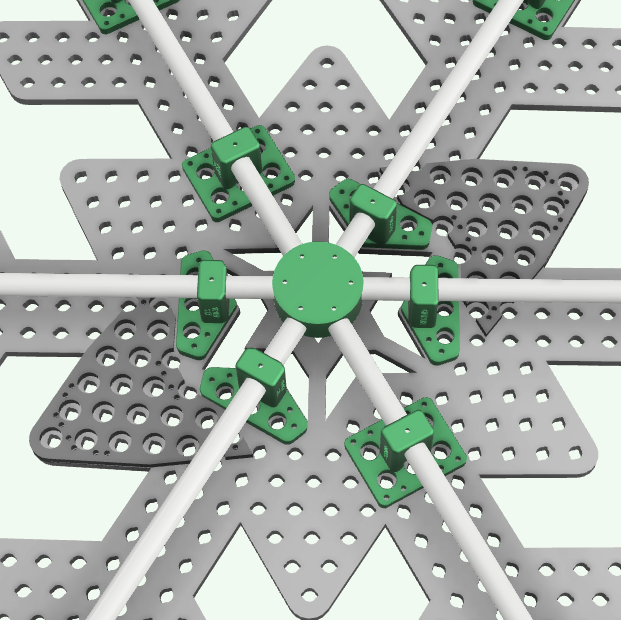
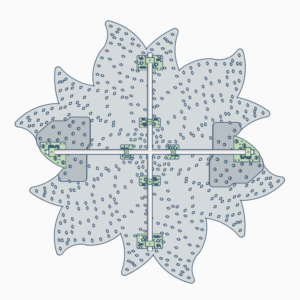
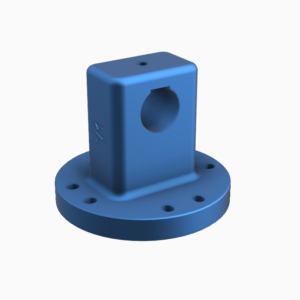
Important alignment information: The design of the XLS Snowflake is not symmetrical about its axis. Variations in pixel hole locations exist between 2-4 millimeters if the prop is mirrored horizontally or vertically. If the mounts were designed to fit perfectly with this asymmetry, then each mount would be a unique design and any rotation, horizontal or vertical flip from that one orientation would cause the mounts to fit quite poorly. This obviously would be problematic, so the mounts have been designed to fit in the median location and the pixel openings are large enough to account for the asymmetry. Our recommendation for fitting the mounts to the XLS Snowflake is to first place the XLS on a flat surface before pushing pixels and then place the mounts on the prop with the EMT conduit per the renderings. With the mounts inserted into the EMT, you can then adjust the placement to achieve the best overall fit and mark the coro for making the zip tie holes. Once the holes are made, attach the mounts to the prop with zip ties, but don’t fully tighten them down until all the EMT sections are inserted so there is some wiggle room for making adjustments to the mounts.
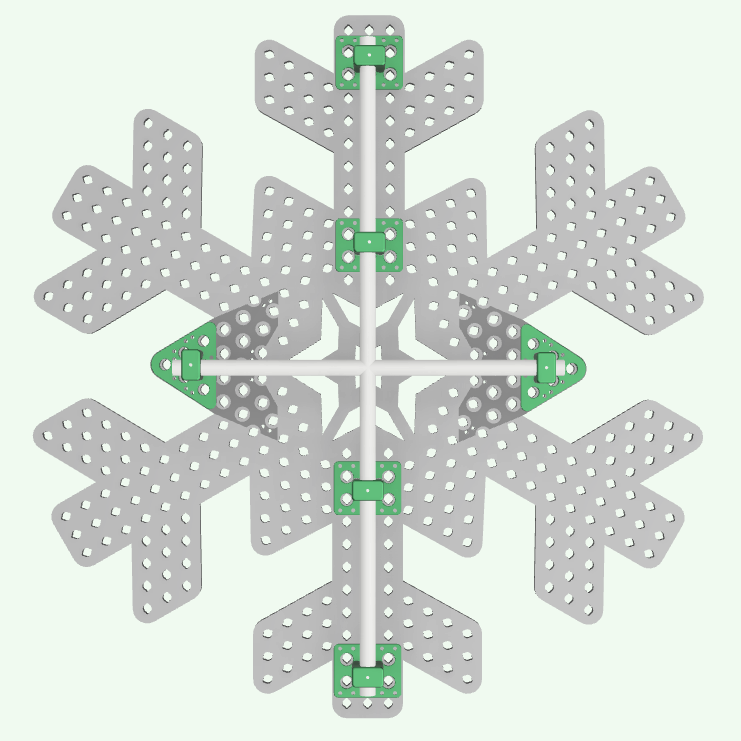
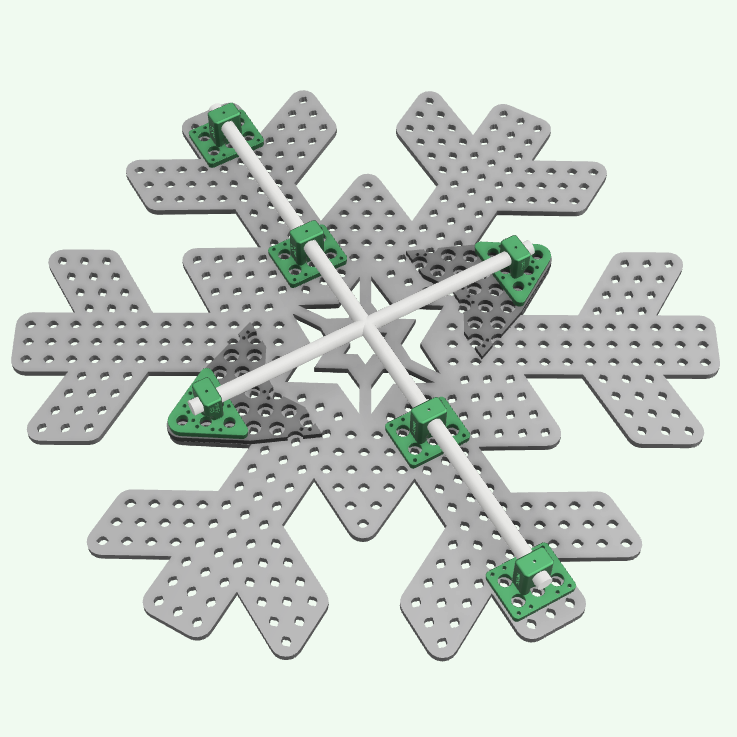
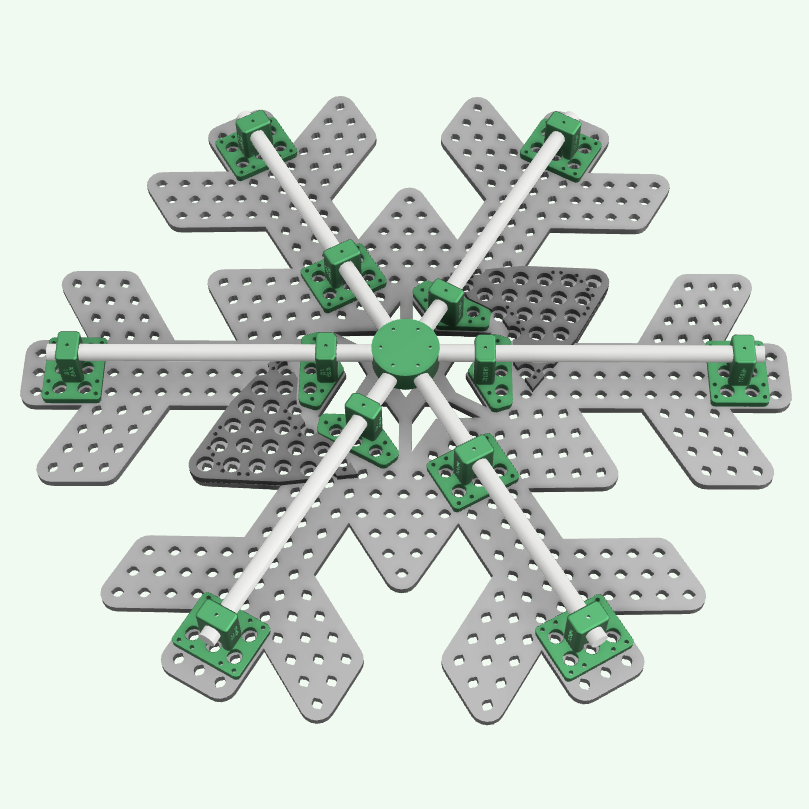
$5.00Select options
This product has multiple variants. The options may be chosen on the product page
404 Not Found
Not Found
The requested URL was not found on this server.
Additionally, a 404 Not Found
error was encountered while trying to use an ErrorDocument to handle the request.
The menu you selected is for STL files which are digital product downloads and not physical 3D printed parts. These are for printing on your own personal 3D printer only. If you are shopping for the ready made 3D printed parts then you should remove any STL files from your cart and select the products from the “3D Printed Designs” menu on the website.
Reviews
There are no reviews yet.